REPORTS
How do I Print Reports?
TRAIN TRACK® includes a variety of standard reports, a custom report filter that allows you to filter for any criteria from multiple fields, a custom report designer for the status of required training, and a custom report designer for completed training. This section explains how to set up and print reports from the report menu.
For information on exporting reports to other file formats, please see the Export Data section.
Using Your Logo on Reports
TRAIN TRACK® allows you to specify a logo image to include on all of your reports in place of the default TRAIN TRACK® logo. IMPORTANT: You may use your logo on reports, but even with the customizable edition license, you are never allowed to remove the TRAIN TRACK® logo from the program screens.
To set up your own logo for reports, follow these steps

Paper Size
TRAIN TRACK® allows you to specify if you want reports printed on Letter or A4 size paper.
To select the default paper size, follow these steps

Report Menu
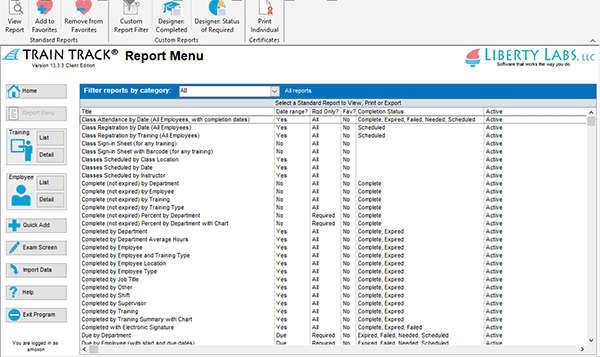
The Report Menu displays the available standard reports which you may view, print, or export.
To view the report menu, follow these steps

Standard report data includes:
Filter the Report Menu
You may filter the report menu to show you just one type of reports at a time. The available filters are:
All |
All reports |
Class |
Classroom training scheduled and enrolled employees |
Complete |
Training that has been completed and is not expired |
Due |
Required training that is not complete or is expired |
Employee |
Employee roster |
Favorites |
Reports marked as favorites |
History |
Training that has been completed over time |
Reports |
Report descriptions |
Required |
Required training for each employee, job, or department |
Status |
Status of required training for each employee |
Training |
Training list |
To filter the report menu, follow these steps
1. Open the Report Menu.
2. At the top of the screen, select a filter.
Favorites
To mark a report as a favorite, follow these steps

To remove a report from favorites, follow these steps

View or Print Reports
To view a report, follow these steps

To print a report, follow these steps


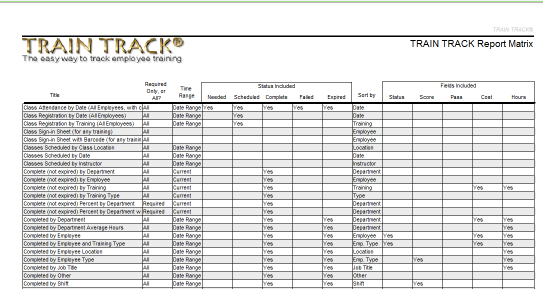
From the report menu, you may view the report titled "Report Matrix" to see what's included on each report.

Fields:
Print Individual Certificates
You may print individual certificates of completion from the Report Menu ribbon.
To print individual certificates, follow these steps