AUTOMATIC IMPORTS


Automatic Imports

TRAIN TRACK®. allows you to set up your program to automatically import records from a specific file location. If you have another program or source that exports employee record updates, for example, you can store that file in the specified location, and have it automatically imported according to the schedule you specify. New employee or training records will be added, and existing records will be updated. Completion and requirement records will be added.


Setting up your Source FIle

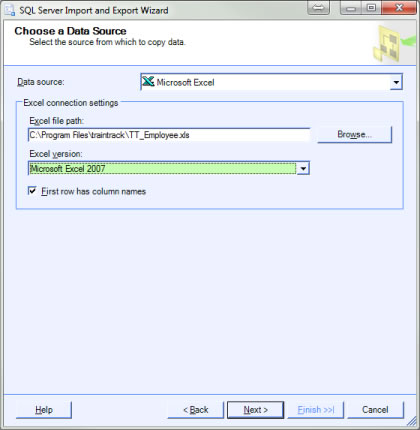
Records may be imported from a database table, text file, or Excel® file. The example below will use an Excel® file, but you may use the SQL Server import wizard to set up a different type of file, using the same settings. To import from Excel®, we recommend that you export the template file from TRAIN TRACK®, and use this template for your imports. To export the template, see the importing records.

You may save the template file in any location. You may paste your data directly into the template and save it to your specified location for importing, or you may use it as a template to set up an automatic export from another program.


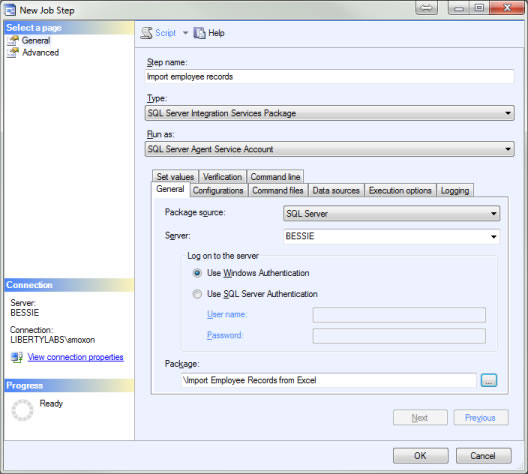
Set up the Import Task

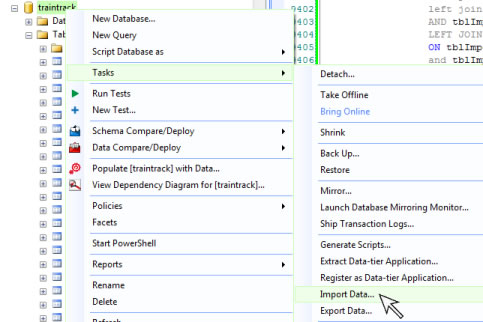
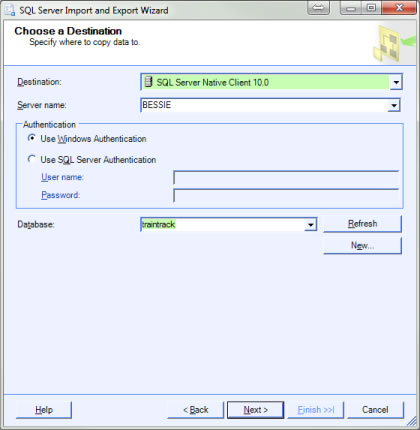
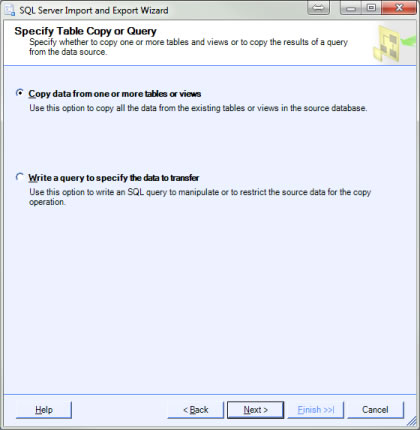
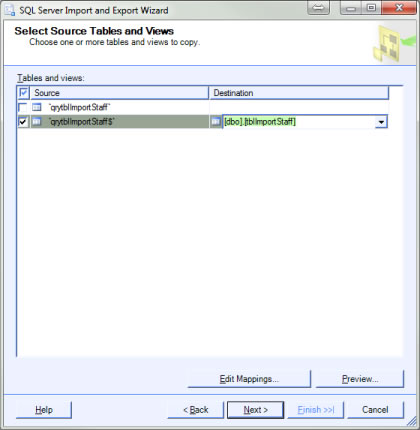
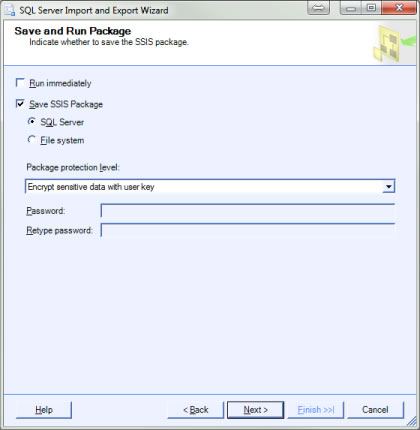
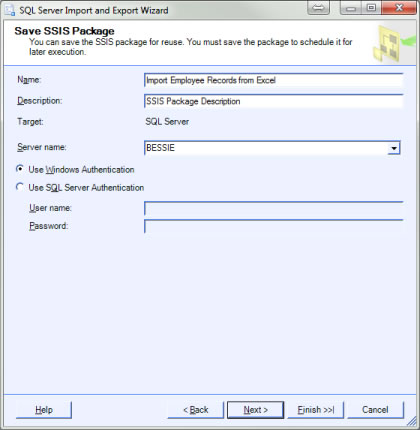
Once you have your source file, the next step is to create an import task in SQL Server.

To set up an import task, follow these steps:
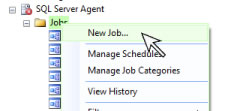
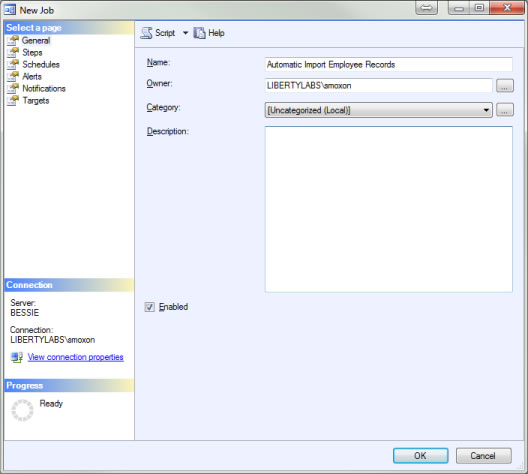
  1. Open SQL Management Studio.
  2. Right-click on the name of the database and select Tasks > Import Data.

    Import Data


  3. The import wizard will open. Click Next.
  4. Select your data source file type (in this example we are using Excel). Click Browse and select your source file. Select the version of Excel that you have installed (or the closest match). Check the box "First row has column headings". Click Next.

    Select Source


  5. Select your SQL Server (in the example, the server is "Bessie" but your server name will be different). Select the TRAIN TRACK database and click Next.

    select destination


  6. Select "Copy data from one or more tables or views" and click Next.

    select copy


  7. Check the line where your source is listed, and select the destination as "tblImportStaff" to import employee records. To import training records, select "tblImportCert". Completion records is "tblImportComplete" and requirements is "tblImportReq". You may verify the data source by clicking Preview. You may also verify the data fields by clicking Edit Mapping. After you have verified your data, click Next.

    Select the source and destination


  8. Select to save the package and click Next.

    Save Package


  9. Name your package, select your server, and click Next.

    name package


  10. Click Finish.


Schedule a Job

The next step is to schedule the import package that you saved in the step above to run on a daily basis.

  1. From the SQL Management Studio, under SQL Agent, right-click on Jobs and select New Job.

    new job


  2. Under "General", enter a name for your job.

    Name your job


  3. Under "Steps", click New. Name your step and for type select "SQL Server Integration Services Package". Select your server, select the package saved above, and click OK.

    Step settings


  4. Under "Schedules" click New, name your schedule, select the frequency, and click OK.

    Schedule settings


  5. Click OK.


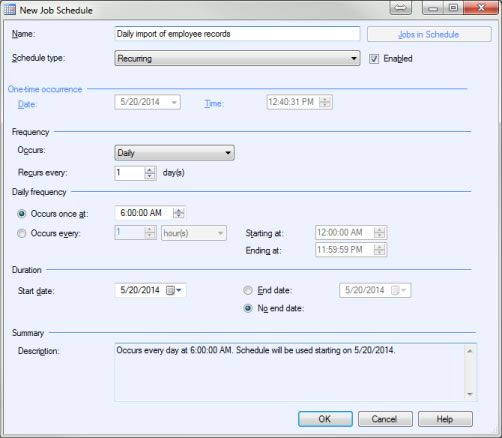
Your job is now scheduled. You will need to place the data source file in the location you specified, and your records should be imported based on the schedule you specified.