TRAIN TRACK® Web Edition Help Manual
Import Employee Records
TRAIN TRACK® allows you to import employee records from an Excel® template. When you import employee records, only new employees will be imported. Existing employee records will be updated with new information from the template. New job titles, departments, shifts, locations, and employee types will also be imported.
Import Employee Records
To import employee records, follow these steps
| Step | Illustration |
| 1. From the navigation bar, select Import > Employees. | 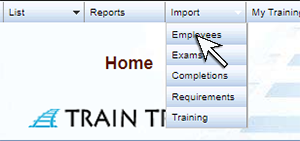 |
| 2. The upload screen will open. Click the link ("click here") to download the template. |  |
| 3. A browse box will open. Browse to where you want to save the file and click Save. Make a note of where you saved the file. | 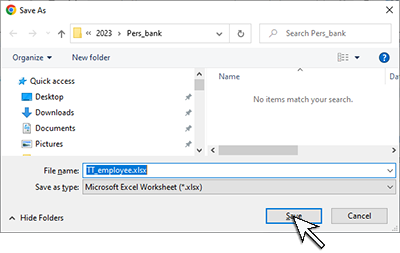 |
| 4. Click the Download Arrow in your menu bar, then click on the file name to open the template file. Note: if you do not see the option to open the file from your browser, locate the file from Windows® Explorer and open it. |  |
| 5. In Excel®, click Enable Editing. |  |
| 6. Paste your data into the Excel template. You will need to leave all of the column headings in place (do not alter them or move them), and paste your data below them. If you don't have data for some of the columns, just leave them blank. Please see below for details about the data you may paste into each column. | |
7. Click on the Formulas tab at the top and select Name Manager.
| 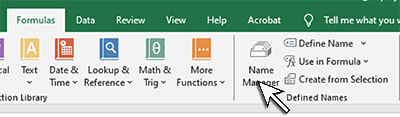 |
| 8. In the Name Manager pop-up screen, click the Up arrow. | 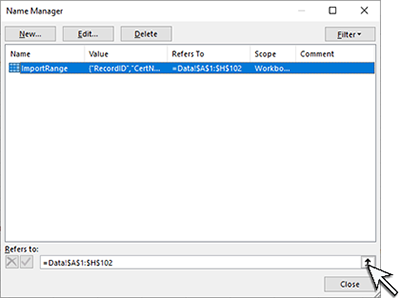 |
9. Your spreadsheet will show a green perforated line. Select all of the column headers starting from A1 (even if you do not have data below them) and all of your records below, stopping after the last record. If your data is not included in the selected area, it will not be imported. |
 |
| 10. In the Name Manager pop-up screen, click the Down arrow. | 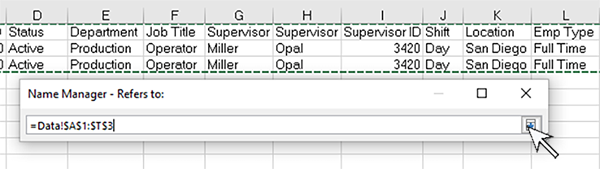 |
11. Click Close then Yes when asked if you would like to save changes. Save the completed Excel template. |
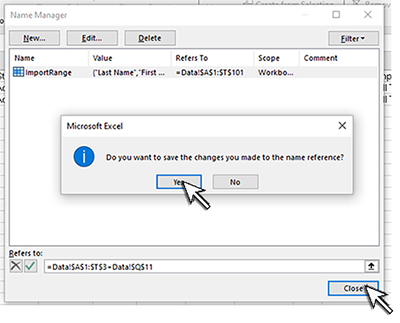 |
| 12. Return to TRAIN TRACK®. Click Next and the Upload screen will open. Click Browse or Choose File (depending on your browser) and browse to where you saved the template file. |  |
| 13. Select the template file and click Open. | 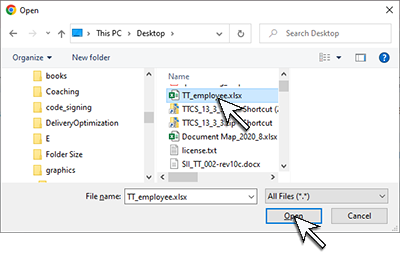 |
| 14. Click Upload. | 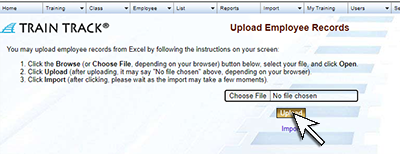 |
| 15. Click Import. | 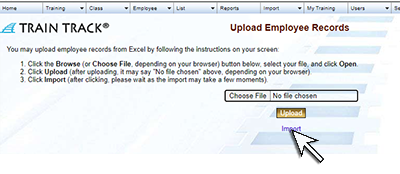 |
| 16. You will see a message that your data has been imported. | 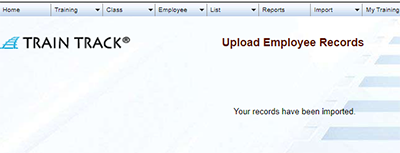 |
Employee Template Columns
The template used to import employee records includes the following columns:
LastName: Employee last name.
FirstName: Employee first name.
Status: "Active" or "Inactive".
EmployeeNumber: Identification number.
Dept: Department.
SupLast: Supervisor last name.
SupFirst: Supervisor first name.
Shift: Shift.
Location: Employee location.
Phone: Phone number or extension.
JobTitle: Job title.
StartDate: Employee hire date.
EndDate: Employee termination date.
Other: User-defined field.
Email: Email address.
Type: Employee type.
EmpLink: Link to a document or file.
DOB: Date of Birth (this field is only used in the client interface).
Address: Address (this field is only used in the client interface).
SocialSecurity: Social Security Number (this field is only used in the client interface).
HomePhone: Home phone number.
CellPhone: Cell phone number.